How to clean the housing of a pool pump?
Leave a message

Maintaining a pool pump is crucial for the efficient and long - lasting operation of your swimming pool. One important aspect of pool pump maintenance is cleaning its housing. As a reputable Pool Pumps supplier, I understand the significance of this task and am here to guide you through the process.
Why Clean the Pool Pump Housing?
The housing of a pool pump can accumulate dirt, debris, and even mineral deposits over time. These build - ups can impede the pump's performance. For instance, dirt can clog the impeller, reducing the water flow rate. Mineral deposits can also cause corrosion, which may lead to leaks and ultimately, pump failure. By regularly cleaning the pool pump housing, you can ensure that your pump operates at its optimal level, saving you money on energy costs and potential repair bills.
Tools and Materials Needed
Before you start cleaning the pool pump housing, gather the necessary tools and materials. You will need:
- A screwdriver (usually a Phillips or flat - head, depending on your pump model)
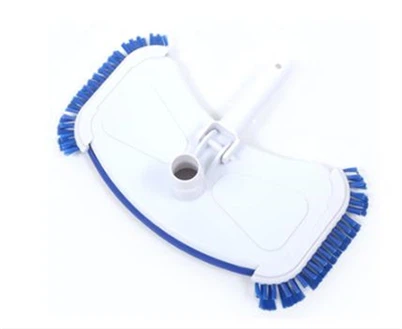
- A soft brush, such as the Soft Pool Brush
- A garden hose
- A bucket
- A mild detergent or a specialized pool pump cleaner
Step - by - Step Cleaning Process
Step 1: Turn Off the Power
Safety should always be your top priority. Before you begin any maintenance work on the pool pump, turn off the power supply. Locate the circuit breaker that controls the pump and switch it off. This prevents any risk of electric shock while you are working on the pump.


Step 2: Release the Pressure
Pool pumps can build up pressure during operation. To release this pressure, locate the air relief valve on the pump housing. Slowly turn the valve counter - clockwise until you hear a hissing sound, indicating that the pressure is being released. Once the hissing stops, the pressure has been fully released.
Step 3: Remove the Pump Lid
Using the screwdriver, carefully remove the screws that hold the pump lid in place. Place the screws in a safe place, such as the bucket, so you don't lose them. Gently lift the lid off the pump housing. Be cautious as there may still be some water inside the housing.
Step 4: Inspect the Impeller
The impeller is a crucial part of the pool pump. It is responsible for drawing water into the pump and pushing it through the filtration system. While the lid is off, take a close look at the impeller. Check for any signs of damage, such as cracks or chips. Also, look for any debris that may be stuck in the impeller. If you find debris, use the soft brush to carefully remove it.
Step 5: Clean the Pump Housing
Now it's time to clean the inside of the pump housing. Start by using the garden hose to rinse away any loose dirt and debris. Then, fill the bucket with warm water and add a small amount of mild detergent or a specialized pool pump cleaner. Dip the soft brush into the soapy water and gently scrub the inside of the housing. Pay special attention to areas with stubborn dirt or mineral deposits.
Step 6: Rinse the Housing
After scrubbing, use the garden hose to thoroughly rinse the pump housing. Make sure all the detergent or cleaner is removed. Any remaining cleaner could potentially damage the pump's components over time.
Step 7: Check the O - Ring
The O - ring is a rubber seal that prevents water from leaking out of the pump housing. Inspect the O - ring for any signs of wear or damage. If it looks worn or cracked, it's a good idea to replace it. A new O - ring can be easily purchased from a pool supply store.
Step 8: Reassemble the Pump
Once the housing is clean and dry, carefully place the O - ring back in its groove. Then, put the pump lid back on and secure it with the screws. Make sure the lid is tightly sealed to prevent any water leaks.
Step 9: Turn On the Power
After reassembling the pump, turn the power supply back on at the circuit breaker. Observe the pump as it starts up. Check for any signs of leaks or abnormal noises. If everything seems normal, your pool pump is now clean and ready to operate efficiently.
Additional Tips for Pool Pump Maintenance
- Regular Inspections: In addition to cleaning the pump housing, conduct regular visual inspections of the pump. Look for any signs of leaks, loose connections, or unusual vibrations.
- Keep the Area Around the Pump Clean: Make sure the area around the pool pump is free of debris. This helps prevent dirt and leaves from getting into the pump.
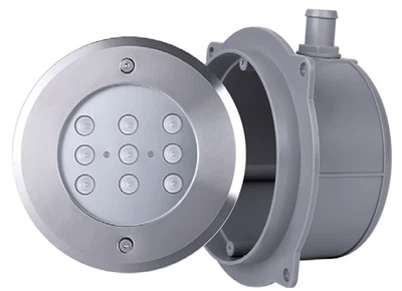
- Use High - Quality Pool Products: Consider using high - quality pool products, such as the LED Inground Pool Wall Mounted Light and Automatic Floating Pool Skimmer. These products can enhance the overall performance and functionality of your pool.
Contact Us for Your Pool Pump Needs
If you are in the market for a new pool pump or need more information about pool pump maintenance, we are here to help. As a leading Pool Pumps supplier, we offer a wide range of high - quality pool pumps and related products. Our team of experts can provide you with professional advice and guidance to ensure that you make the right choice for your pool. Whether you are a residential pool owner or a commercial pool operator, we have the products and knowledge to meet your needs. Contact us today to start a discussion about your pool pump requirements.
References
- "Pool Pump Maintenance Guide", Pool & Spa News Magazine
- "The Complete Book of Pool Care", John Smith, 2022 Edition